"Triage"
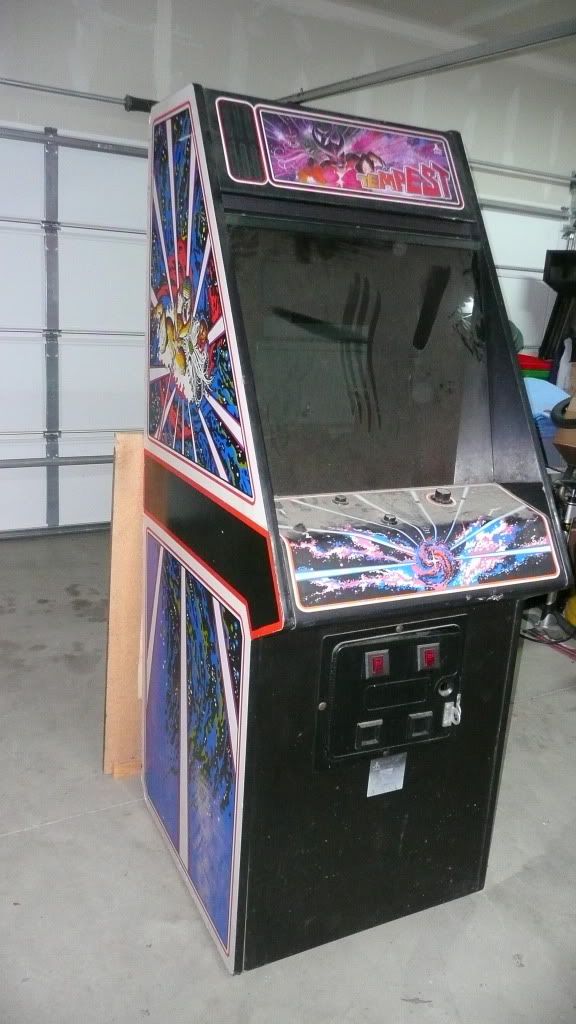
This is an "early artwork" Tempest. Only the first couple of thousand Tempests came this way and so I really was hoping to be able to keep the side art and control panel overlay intact.
The hardest part about a game with this many problems is knowing where to start.This time I will lay out the exact order that I like to do things for those of you that could use a little direction in your lives. I always like to start at the bottom. I always check and make sure the game has solid leg levelers on it and replace them and the plates if needed. Make sure your game is on solid ground before anything else. The next stop is in the bottom of the game. Clean out any loose pieces rolling around in there. I make sure there are no foreign objects lodged on fuse holders or anywhere else they don't belong before plugging in the machine. I take everything out and sand the bottom with my finishing sander so it looks fresh and then vacuum it. Make sure the power cord looks solid and replace it if needed. When I plug in the machine, I make sure I am ready to test the +5 volts at the motherboard right away in case it's way too high so I can adjust it. I usually set the dip switch settings to free play prior to firing it up so I don't have to worry about if the coin door wiring is good or not. In this case, the monitor was missing so I was just checking to see if it played blind. I could hear the game but the volume was too low and could not be adjusted any louder.
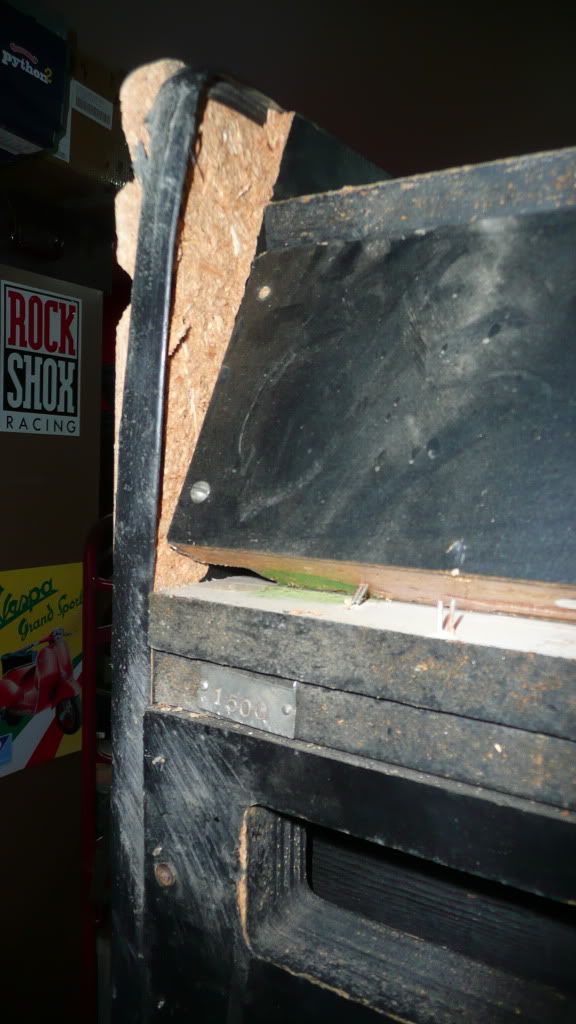
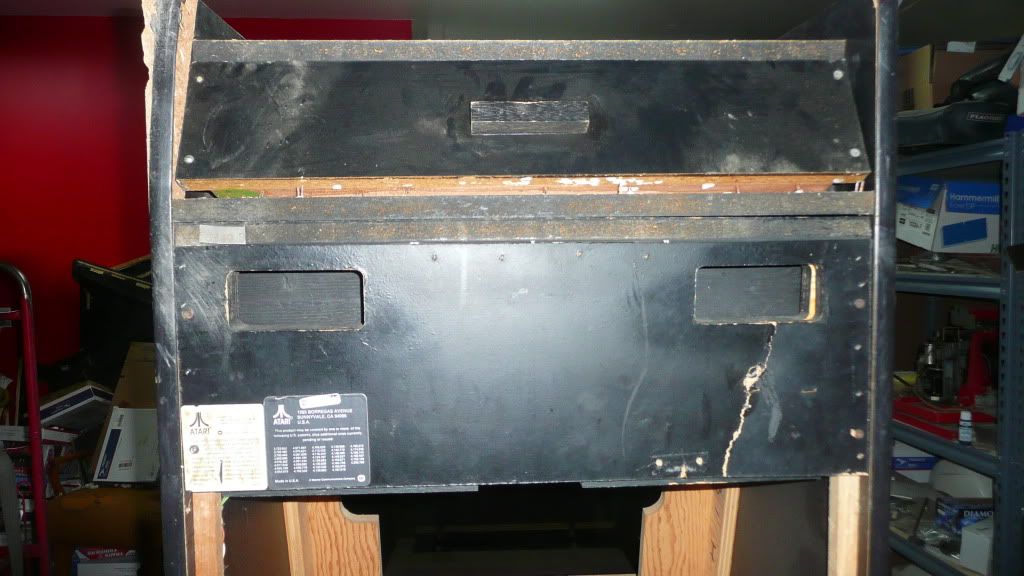
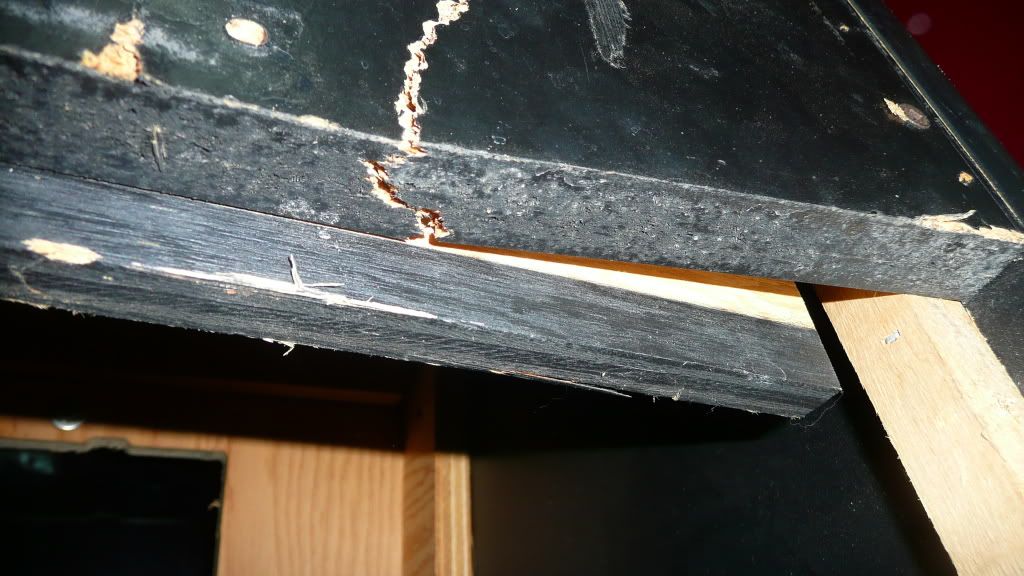
The cabinet wasn't any better than the insides. The rear corner was busted up and the back of the game was cracked from a fall it took while being unloaded from a semi trailer at one time. Ouch ! The control panel overlay had a gash in it, the marquee was cracked ( note to the Atari employee that designed this style of marquee: I'M COMING FOR YOU !!! ), the coin door had holes in it from a lock bracket, and did I mention that the rear corner was busted up ? All in all, this game was a midsummer night's nightmare. I promised the previous owner that I would do everything I could to save this game. It was time to make good on that promise.
"The Road to Recovery"
Time to get this show on the road, the road to recovery that is. I dropped a deluxe rebuild kit from Bob Roberts into a dead WG K6100 that I had acquired for this machine and I now had a working monitor. Now I could actually see the game playing for the first time and everything looked good. I reseated all the socketed chips on the motherboard anyway to make sure they were solid. The volume was low so I suspected one of the audio amplifiers on the AR-II board, but which one ? I did a couple checks with my multimeter on them and then compared the results with another known good AR-II board. One of the audio amplifiers was metering differently so I changed it. Sure enough, I noticed one of the legs on it was broken as I removed it from the AR-II board. I put in a new one and now had Tempest at full volume. I went ahead and rebuilt the rest of the AR-II just to be safe. The game was now fully operational and working beautifully.
Looming ahead of me all this time was that broken rear corner and other pieces that were damaged in the fall. I also had to make an executive decision on the control panel gash and I ordered a reproduction marquee. I knew I was going to have to get all "Mad Scientist" on that rear corner at some point and see if I could fix it. It was time to unleash the weapons of mass reconstruction on this game and hope for the best.
Tempest is also the name of a play that some famous dude called William Shakespeare wrote. The play is about some people on a boat that gets hit by a gnarly storm and they end up on an island and a bunch of weird things happen, kinda like the tv show LOST. You would think he could have been a little more original. Personally, I think the play should have been about the arcade game. So without further ado, I bring you my version of Tempest. As our friend William Shakespeare once said, "Let every eye negotiate for itself, trust no agent".
Tempest, I found thee :
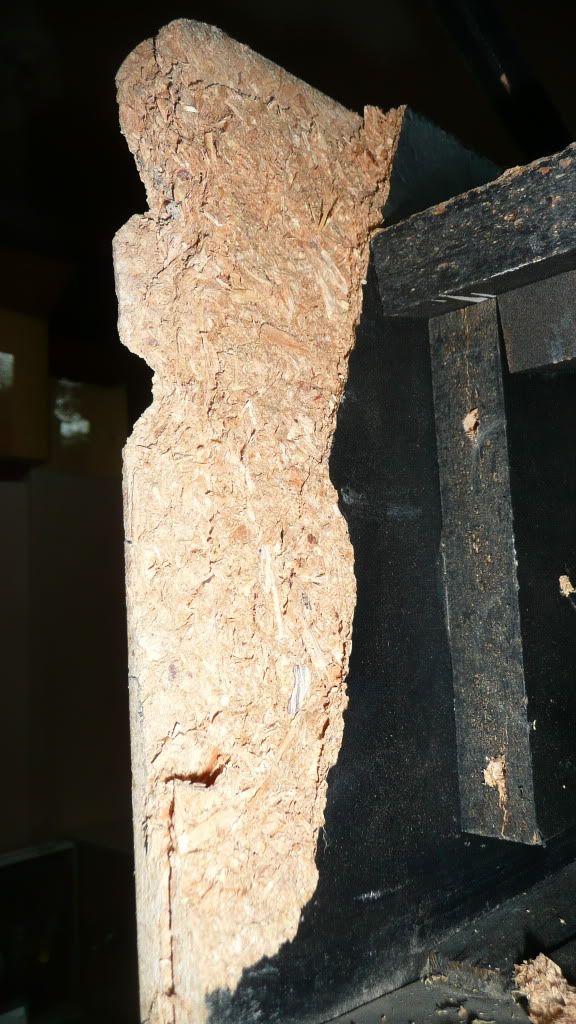
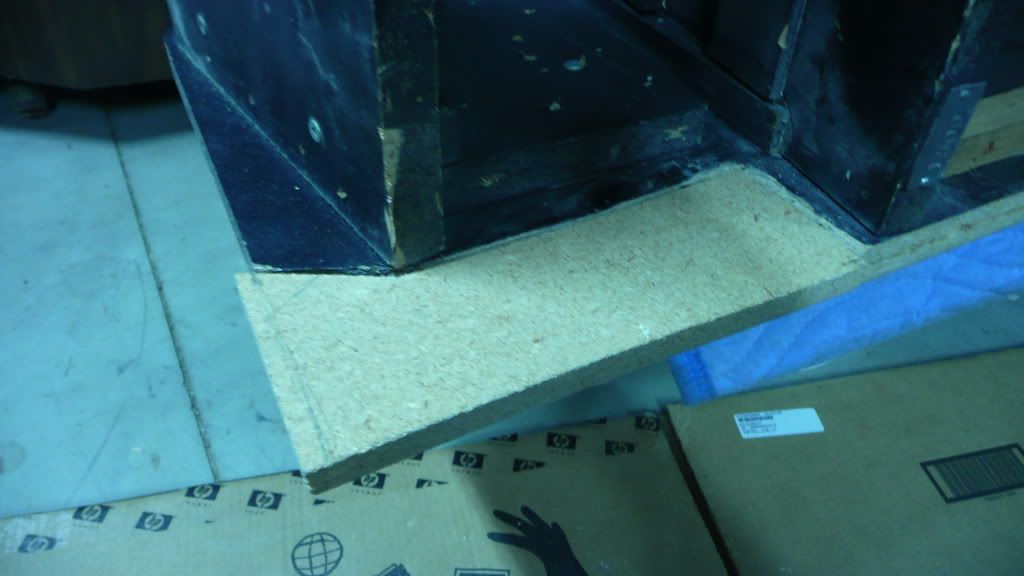
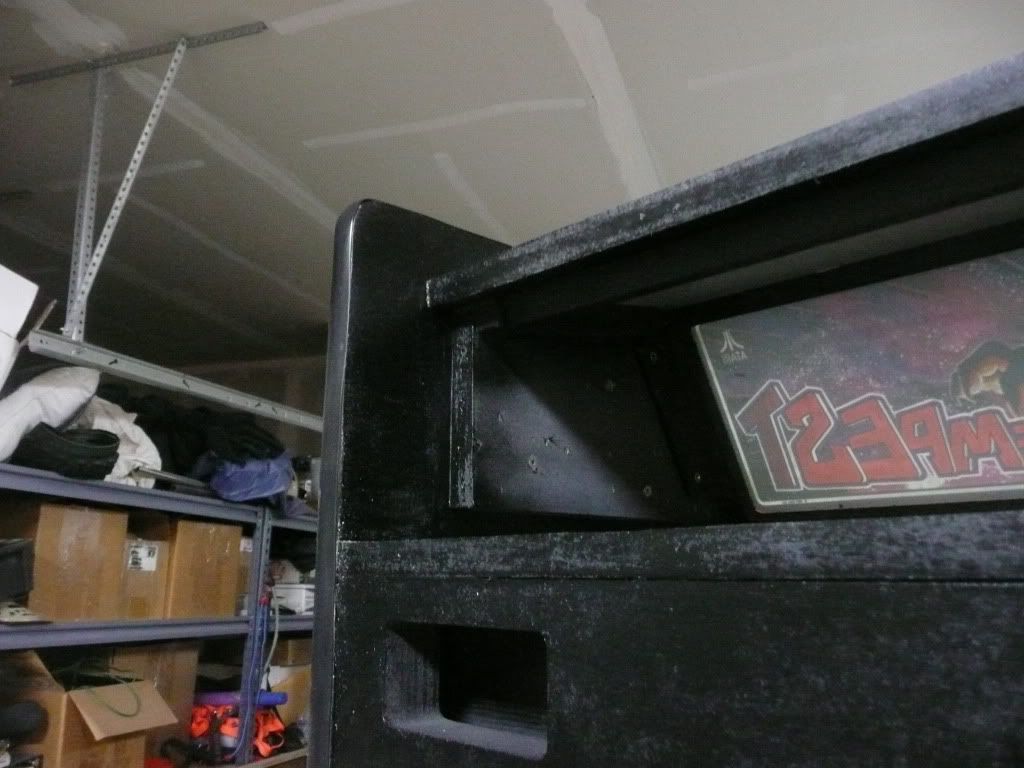
But thee is not looking too good. The corner is broken, and the rear panels are cracked and separated:
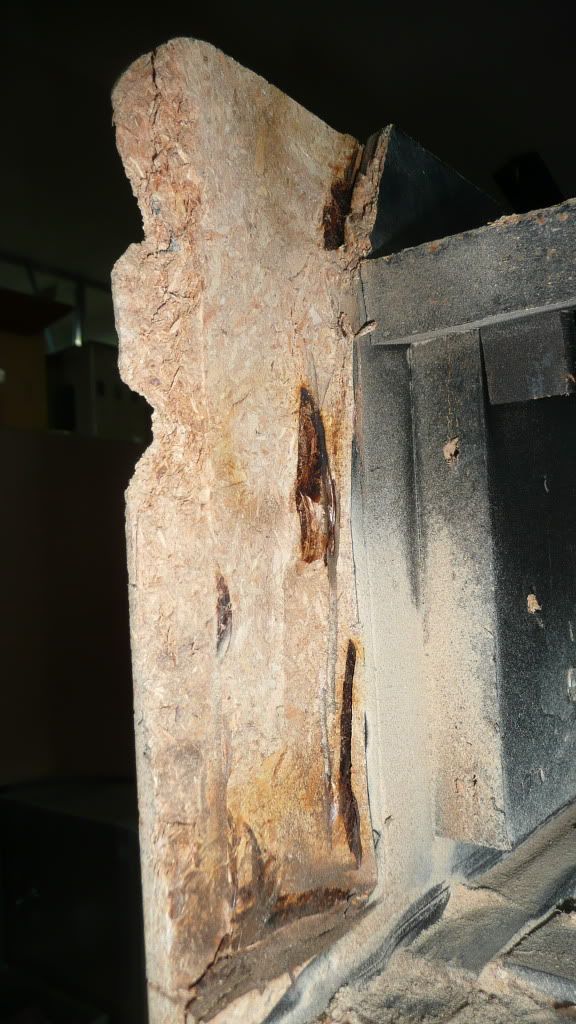
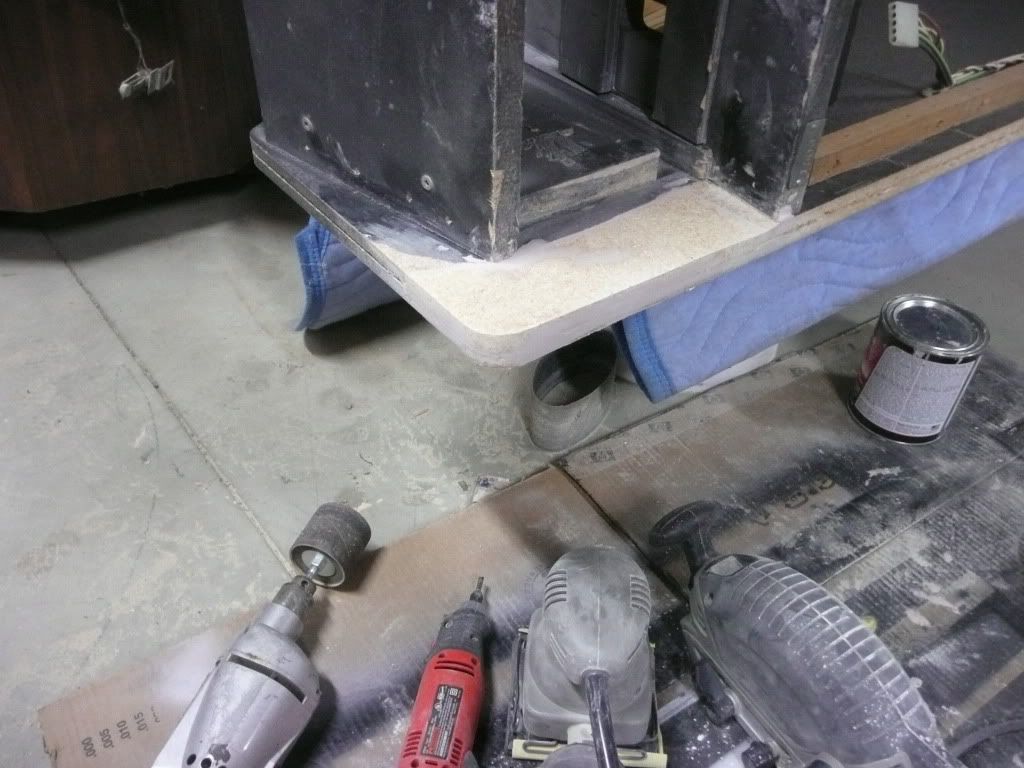
Ok, enough with the Shakespeare talk. Let's get down to business. Time to tackle this broken corner:
I started cutting around the wound and sanding it smooth:

A little bondo and it's ready for a patch:
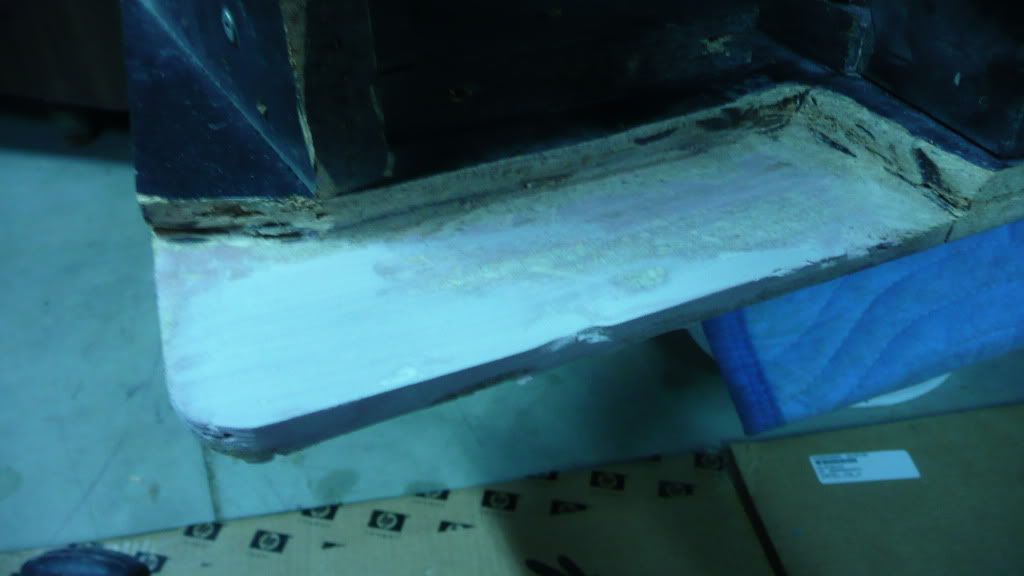
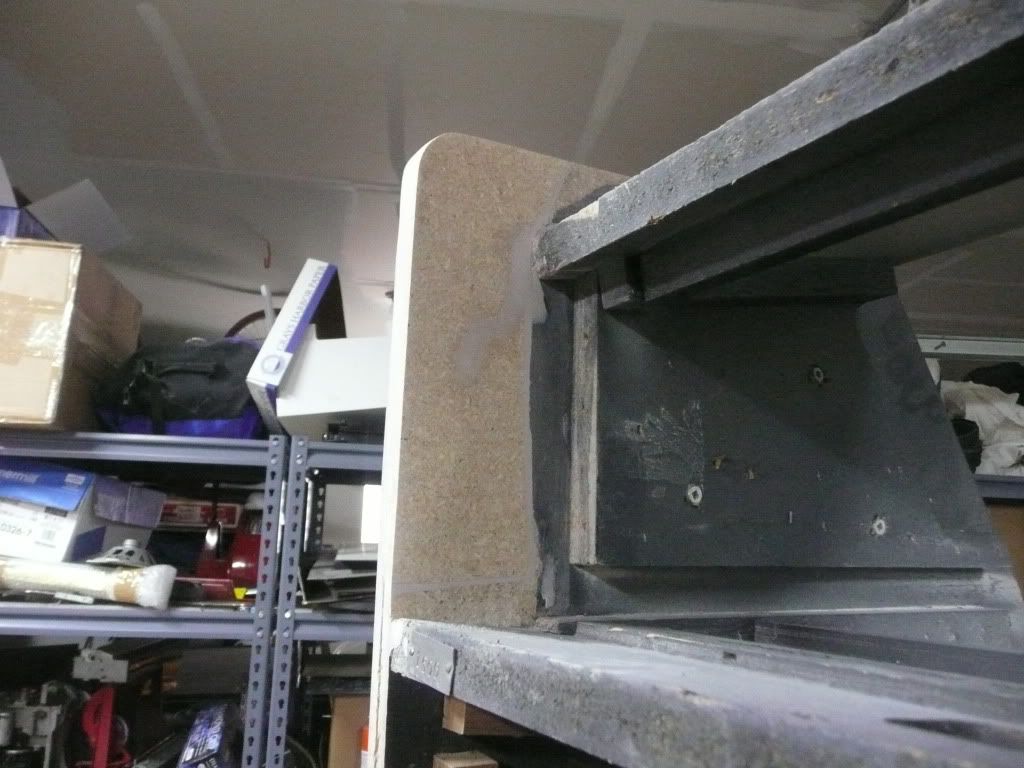
I cut the patch out, shaped it and glued it:
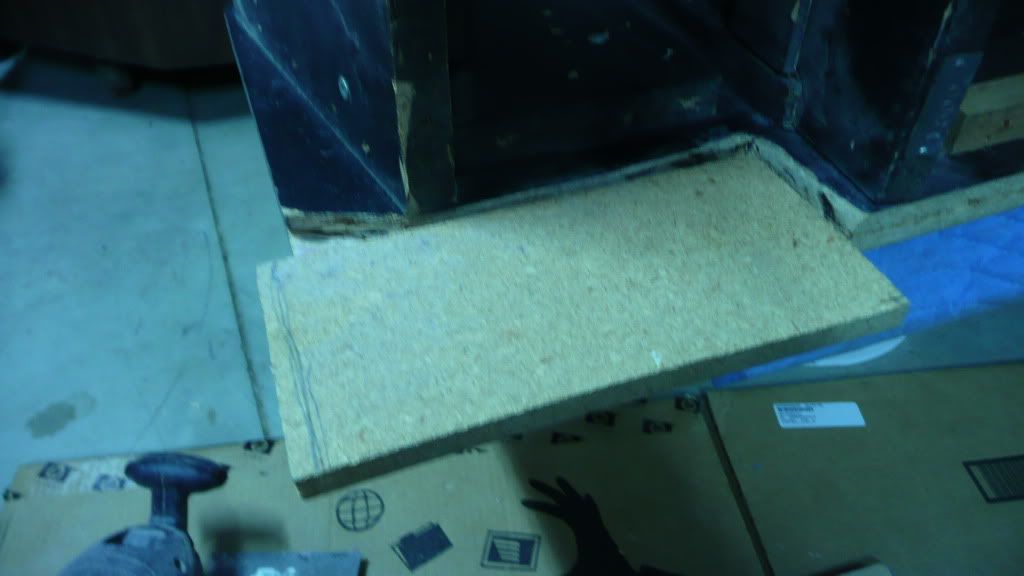

After the glue dried I finished shaping it:
Some primer and paint :
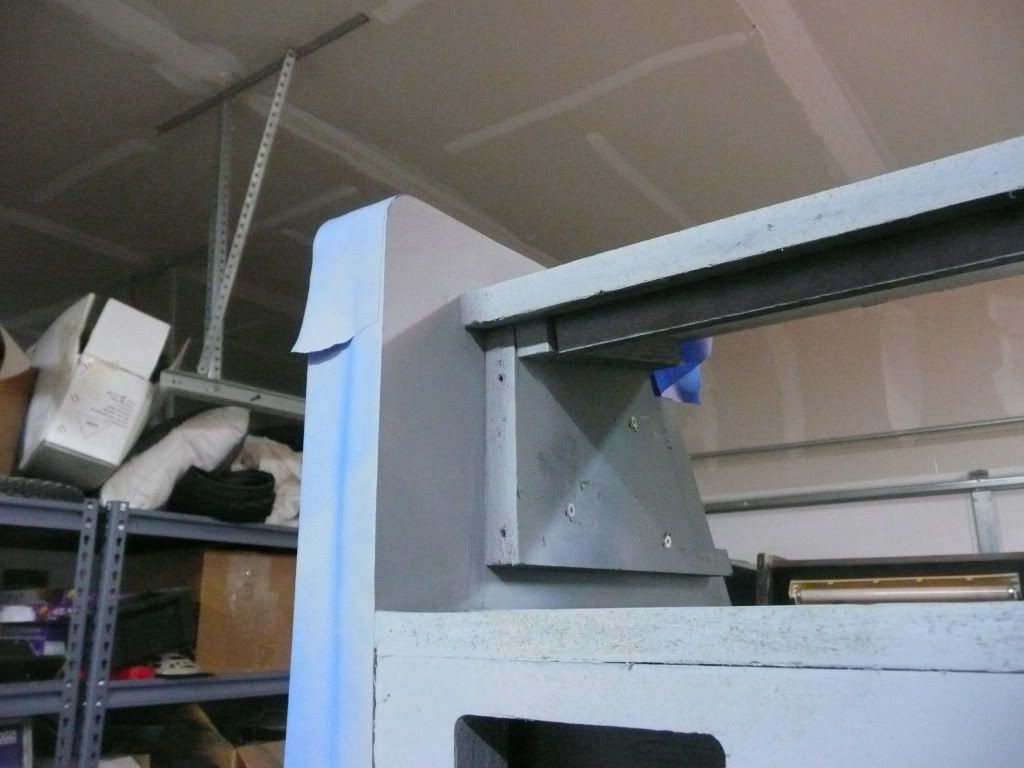
No more separation anxiety :

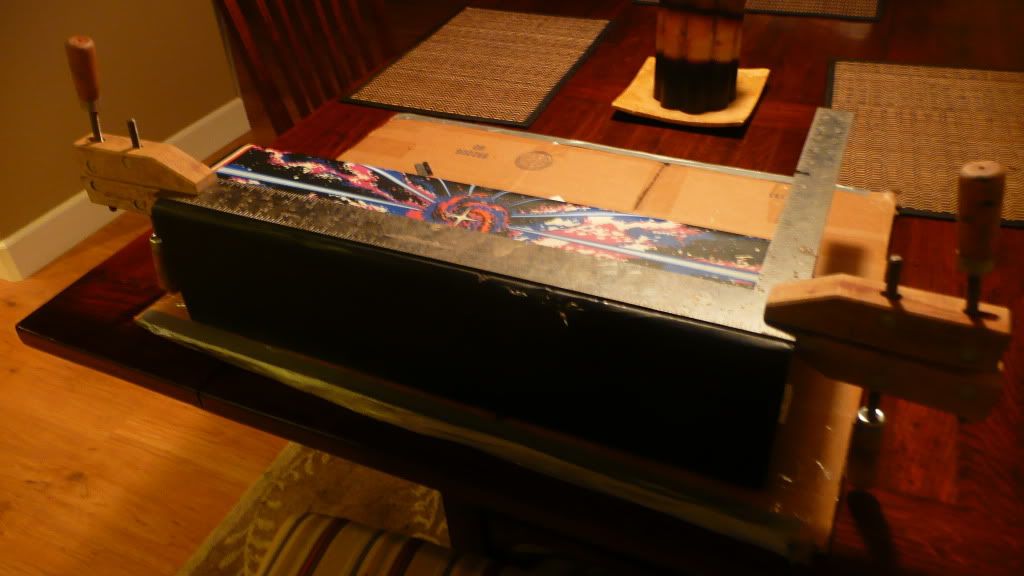
The overlay has a gash in it:

I clamped on a straight edge and using a razor blade I cut it right above the damaged part :
I peeled off the lower damaged part and removed the adhesive:

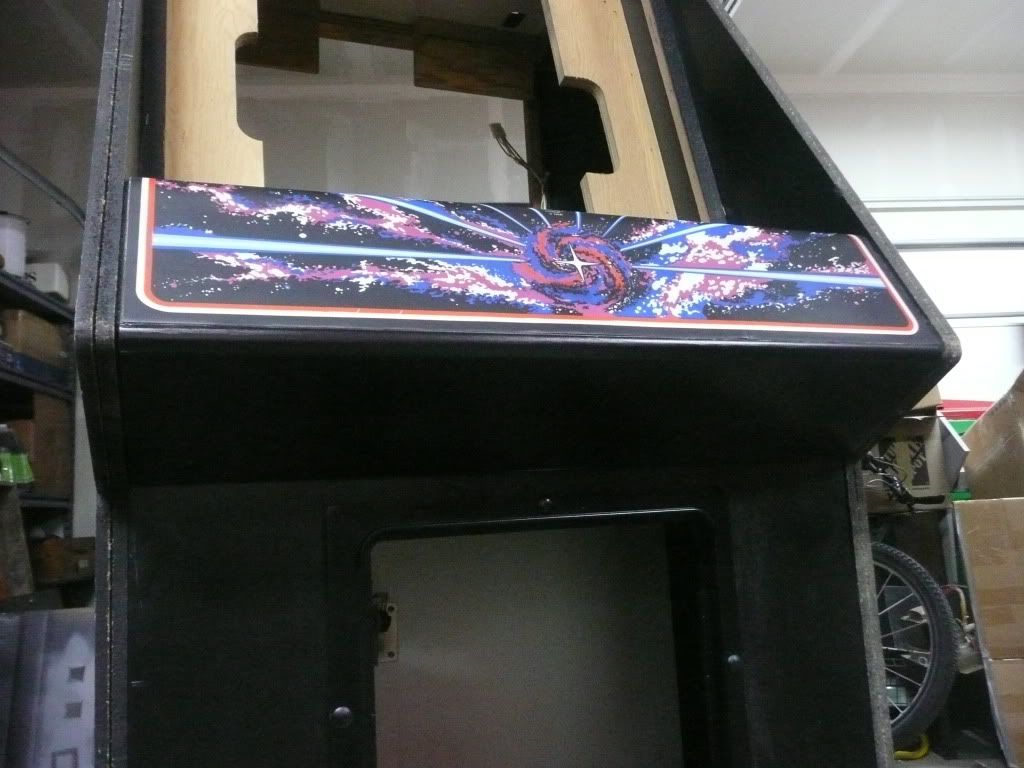
I taped off the rest of the overlay with blue painters tape and then primed and painted the lower half of the panel black :
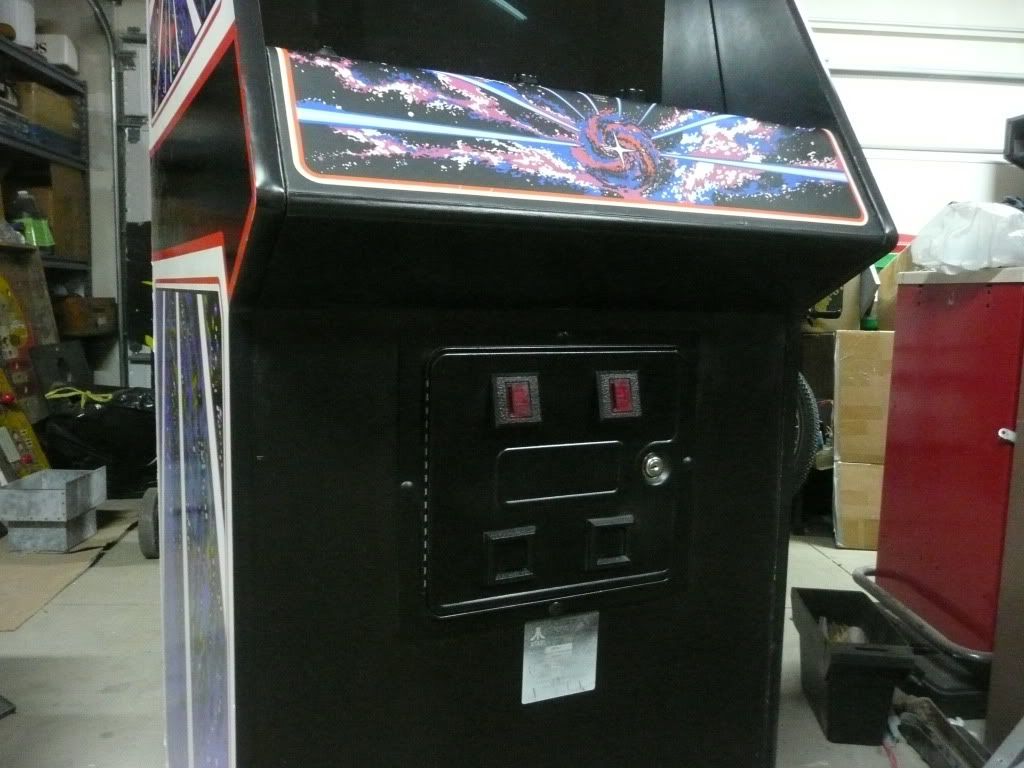
I swapped out the coin door with a nicer one and gave it a fresh coat of paint :
"Something wicked this way comes"

This is one I will savor for a long time. Until we meet again...
The End.


No comments:
Post a Comment